A Demonstration Gives a New Skill a Visible Shape
A demonstration gives a new skill a visible shape by separating decisions, movements, and checks so learners can see what to try and why.
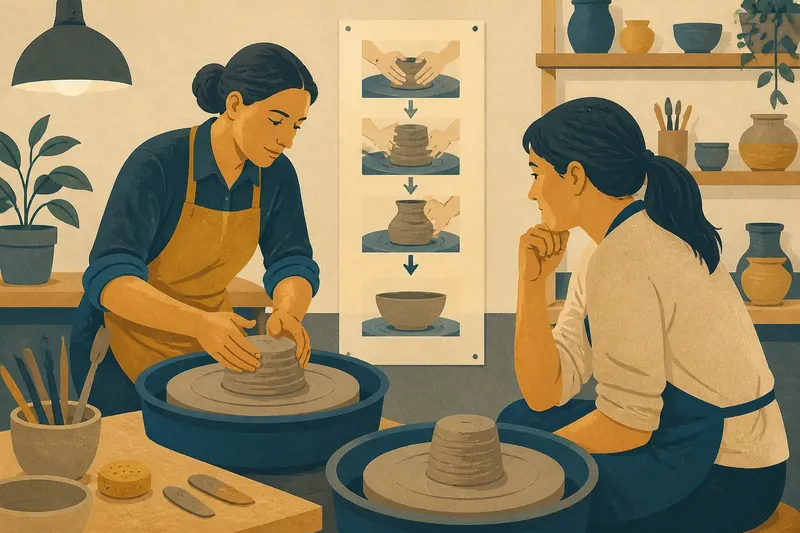
A learner watches a ceramicist center a lump of clay, then sits at the wheel with the same lump and no clear idea where to begin. A demonstration gives a new skill a visible shape: it separates the task into observable stages, so the learner can connect what the hands do with what the eyes should notice.
The useful question is not simply whether to show the whole task or break it apart. It is how much of the task a learner can interpret while watching, and what kind of demonstration makes the next attempt understandable. The right choice depends on the skill, the learner’s starting point, and what the demonstration needs to make visible.
What should a demonstration make visible?
A good demonstration shows more than a sequence of motions. It lets learners notice the decisions that guide those motions: where to start, what to pay attention to, how to tell whether an action is working, and what to do when it is not.
Some actions are easy to see but hard to interpret. A cook stirring a sauce may be visibly moving a spoon, while the important cue is the sauce’s changing thickness. A teacher who narrates only the movement leaves the learner watching a hand rather than learning what the hand is responding to.
Think of the stages as signposts on a short route. Each one should help answer a practical question: What is happening now? What cue matters here? What should come next? A signpost that says “continue” is not much help when the road branches.
Which situation calls for which kind of demonstration?
Use a whole-task demonstration when the sequence is short and coherent
If the task has a few visible actions and learners can follow their order, show it once from beginning to end before explaining every detail. This gives them a map of the destination and helps them see how separate actions fit together.
For example, a teacher showing how to fold a simple paper envelope might demonstrate the complete sequence at a readable pace, then repeat the fold with attention to alignment. The whole view is useful when learners need orientation, not when each motion is already competing for their attention.
Use staged demonstrations when a task has distinct decisions
Separate the task when learners need to pause between phases, choose among options, or check a result before continuing. A stage might be a physical action, such as clamping a board, or a decision, such as checking that its edge is flush before fastening it.
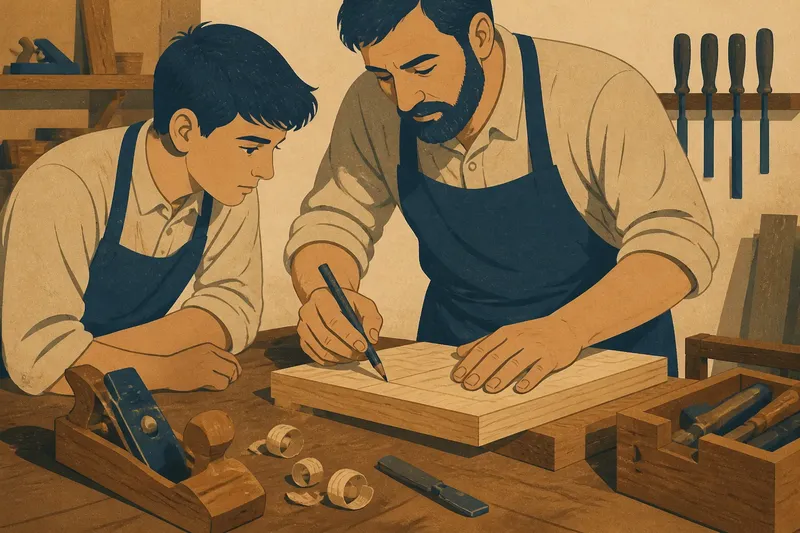
Keep each stage concrete and observable. “Prepare the material” may conceal several decisions; “mark the cut line, align the square, then check that the line meets the edge” gives a learner something specific to watch and later attempt.
Slow down or repeat when a crucial cue is easy to miss
Some actions happen quickly, occur behind a tool, or depend on a subtle change. Slow the action, reposition the tool or material, or show the cue again from a different angle. The point is to improve visibility, not to make the task look ceremonial.
If slowing the movement changes the skill itself, show the normal action first and then isolate the relevant moment. A learner should be able to distinguish the instructional pause from the pace they will use in practice.
Show alternatives when the task permits more than one sound method
If skilled people can reach an acceptable result by different routes, demonstrate the choice rather than presenting one route as the only possible one. Name what the alternatives have in common, such as keeping the material stable, and what changes, such as the tool grip or order of preparation.
This is useful when learners will face varied materials or working conditions. It is less useful to introduce several options before the learner can recognize the basic action; too many routes can make the first attempt feel like a choice among mysteries.
How should you divide a task into stages?
Start by doing the task yourself at an ordinary pace and noting where you make a decision, change tools, check a result, or correct an emerging problem. Those moments are good candidates for stage boundaries because they mark a change in what the learner needs to notice.
Then consider what a learner can see from their position. If a fingertip blocks the work, change the angle or use a larger sample. If the key cue is a sound, name it before it occurs and give learners a quiet moment to listen. The arrangement of the demonstration is part of the instruction.
For each stage, identify four things:
- Purpose: What is this stage meant to accomplish?
- Action: What will the learner see the instructor do?
- Cue: What visible, audible, or tactile sign should matter?
- Check: What tells the learner whether to continue, adjust, or pause?
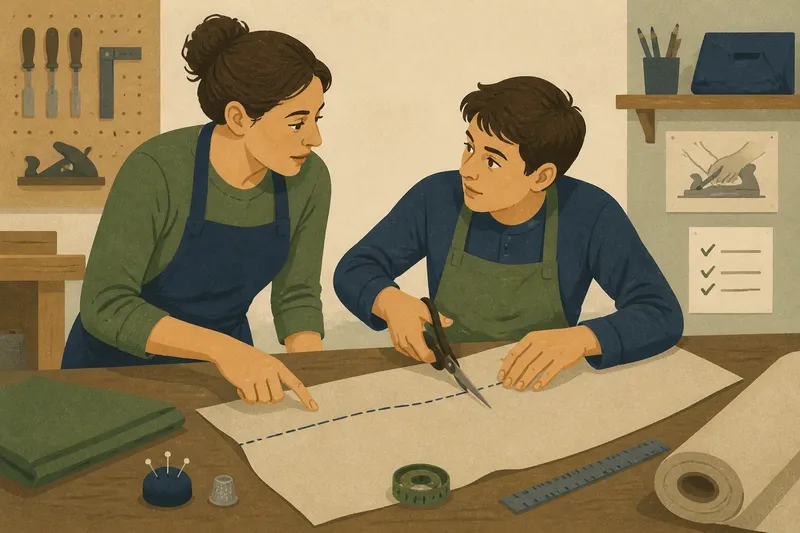
Say you are demonstrating how to thread a sewing machine for a learner who has never used one. You show the thread path as separate stages, pause where the thread must sit between the tension discs, and point out the cue: the thread is seated rather than resting loosely across the opening. The expected observable result is that the learner can trace that section of the path and check it before moving on, instead of copying a fast hand motion from memory.
What should you say while showing the task?
Use brief narration to direct attention to a cue or explain a decision. “I’m checking the edge against the guide before I cut” tells the learner what the check is for. A running description of every hand movement can compete with the very action the learner is trying to see.
Leave a pause after an important cue. Learners need a moment to look from the instructor’s hands to the work, and then back again. If the demonstration is complex, label stages aloud and make the transitions clear, without turning the session into a commentary track.
When an action is difficult to see, supplement the demonstration with a sample, a close-up view, or a brief drawing. These supports should clarify the same action, not introduce a second explanation that learners must reconcile while watching.
Which format fits your teaching situation?
Should beginners watch the whole task first?
Usually, if the task is short enough to follow and the complete result helps orient them. If the sequence is dense, give a short preview of the destination, then teach the task in stages before showing how the parts connect.
Should you explain every movement as it happens?
No. Explain the decisions and cues that a learner cannot infer from the movement alone, and let visible actions remain visible. Add a pause or repeat when the important moment is easy to miss.
Should a demonstration include mistakes?
Include a common, recoverable mistake when recognizing and correcting it is part of the skill. Show the sign that something has gone wrong and the sensible response; avoid staging errors that could damage material or create a hazard.
Should learners ask questions during the demonstration?
Allow questions at natural pauses, especially after a stage with a decision or check. If interruptions would obscure a short sequence, invite questions immediately afterward and repeat the relevant stage rather than replaying everything.
How do you know the demonstration is ready?
Look at the task from the learner’s position, not the instructor’s. Can they see the contact point, the tool’s path, and the result of the check? Can they tell where one stage ends and another begins? If not, adjust the setup or divide the action more clearly.
Also ask whether each stage has a purpose that matters to the attempt. A stage should not exist merely because the instructor likes explaining it. Conversely, do not combine two decisions just to make the demonstration feel brisk; speed is a poor substitute for a visible transition.
Use the learner’s first attempt as a cue for what to clarify next. If they perform the motion but miss the check, make the check more visible. If they cannot begin, revisit the opening stage and show what the first useful action looks like. A demonstration gives a new skill a visible shape when learners can carry its stages into their own attempt, not merely remember the order in which someone else moved.
For work involving tools, equipment, or materials, adapt the setup to the relevant instructions and local safety rules; seek qualified guidance where the task calls for it. That leaves the demonstration free to do its main job: make the next action, and the reason for it, plain enough to try.